 |

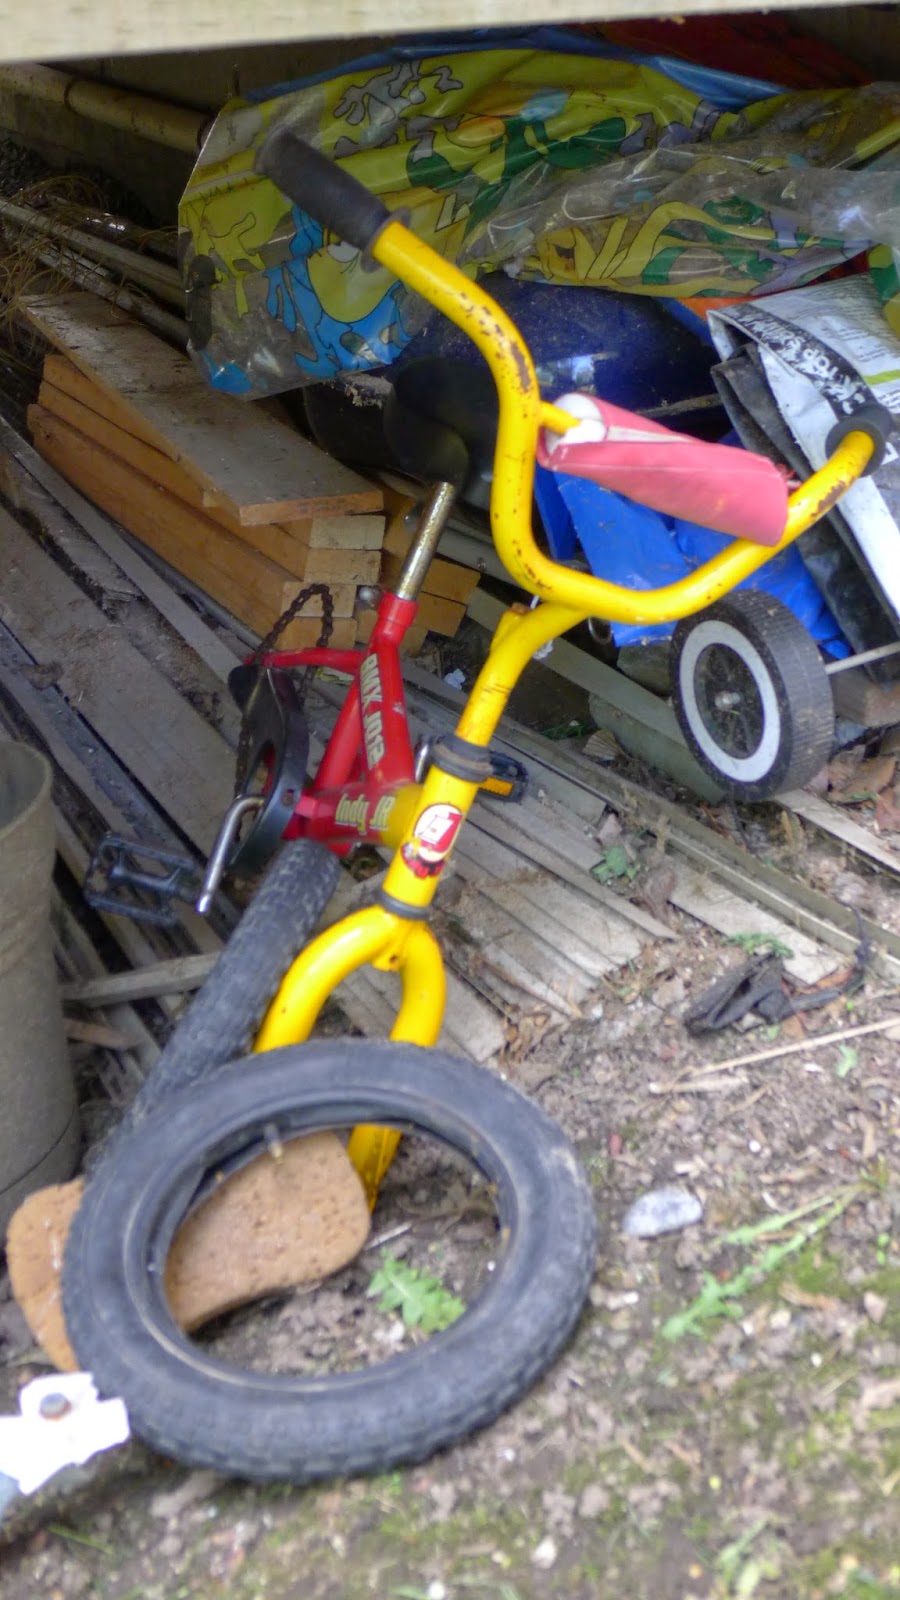
I wanted the wheels but this was a pedal bike and the rear rim had a coaster brake and chain sprocket. I needed the rim to be missing these components. I was able to find an additional rim with the same hub and so I modified the original hub removing the parts that I didn't want.
Painting the hubs, spokes and rims was more difficult than I had anticipated and I ended up having to wire brush the rims and use epoxy paint and primer to get them black. I polished the spoke nipples with a homemade polishing wheel on my drill press. The axle that I used for the rear hub had very beat up nuts. I had to search through the parts bins at a couple of different bike shops before finding some slightly mismatched nuts. The front hub was a different story and I ended up modifying the front axle shaft so that I could use knock down furniture nuts to eliminate the axle hubs sticking out on the front forks.
Making the frame was by far the most difficult part of this build, specifically trying to make the seat adjustable, the rear forks removable and the bike build possible. While I was building the body of the bike, my father, who was visiting at the time, bought a small belt/spindle sander for me. This made the build a lot easier. I ended up making it harder for myself than it needed to be but it did work out in the end. Most wooden balance bikes have a steering limiter that I presume is for safety. I made the opposite assumption that my son should be able to handle the full unlimited steering and if there is a fall or two it will just make him better with the bike. It seems that I was right as he is very good with the bike although he really didn't start using it much until he was two and a half.
I like to pick wood scraps out of a local exotic wood suppliers burn bin. This bike was built using wood that I had sitting around. I learned after making the bike that walnut is a good wood for bending. The photocopier parts in this bike include sealed bearings from the copier in the front wheel as well as the headset which is made from a duplexer shaft, snap rings and more sealed bearings. The headset is removable if the bearings need to be replaced. The seatpost is notched so that the seat can be raised and lowered as needed. The mechanism for seat adjustment is a couple of snap rings and a bolt with a long cross dowel attached. I realized after I had drilled the hole for the seat post that bikes have the front forks and the seatposts at the same or a very similar angle. This was a major mistake that I made as the angle of the seat post is not the same as the forks. I have yet to see how much this will affect my son as he grows taller.

When I was finished the bike I was not sure how to finish it so that it would be resistant to water and weather and not use varnish or other traditional finishes. I am partial to oil finishes as they are more child-friendly. In this case I was not sure that tung oil was going to do it. I work quite often with three part epoxy. I concluded that if I was to mix epoxy without the texturizer in it, brush it on and then rub it off like with an oil finish, it would be tough enough. The difference would be that the epoxy finish would be permanent and not need to be maintained like an oil finish and ultimately be completely waterproof.

I did not take many pictures during the build so I have taken some pics of the bike in it's current finished state.
Created June 2013
No comments:
Post a Comment